As the construction of your new house progresses, you might be thinking about how to ensure optimal energy efficiency and comfort within your home. One critical aspect of this is insulation, particularly in the ceiling. Installing Insulation batts before plastering your ceilings can significantly enhance your home’s thermal performance and reduce energy costs. In this guide, we’ll walk you through installing Ceiling Insulation batts.
Let’s Understand more about the topic:
Step 1: Gather Your Materials
Before you begin, ensure you have all the necessary materials and tools:
- Ceiling Insulation Batts (choose the appropriate R-value for your climate)
- Measuring Tape
- Utility Knife
- Protective Gear (gloves, goggles, mask)
- Staple Gun
- Straightedge
- Step Ladder
Step 2: Measure and Cut Insulation Batts
Measure the space between ceiling joists accurately. Use a straightedge and a utility knife to cut the insulation batts to the required size. Ensure they fit snugly between the joists without leaving gaps.
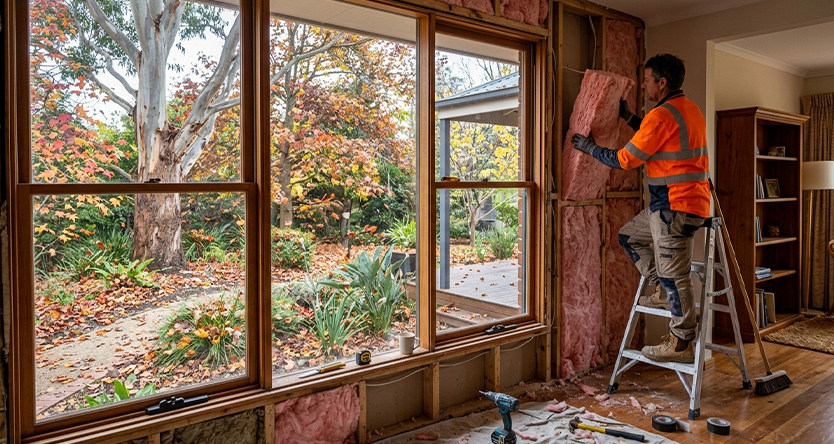
Step 3: Wear Protective Gear
Before handling Insulation Batts, wear protective gear to safeguard yourself against skin irritation or respiratory issues.
Step 4: Install Insulation Batts
Once you’ve cut the batts to size, carefully insert them between the ceiling joists. Ensure the paper vapour barrier faces the heated side of the ceiling (usually the interior of the house). Use a staple gun to secure the batts in place by stapling the flanges to the sides of the joists. Avoid compressing the insulation, as this can reduce its effectiveness.
Step 5: Seal Joints and Gaps
Inspect the installed insulation batts for gaps or joints. Use additional insulation or insulation tape to seal these areas effectively. Proper sealing prevents thermal bridging and ensures maximum energy efficiency.
Step 6: Safety Precautions
Dispose of any excess insulation material properly. Maintaining a clean and safe working environment throughout the installation is essential.
Step 7: Professional Assistance (Optional)
If you’re unsure about any aspect of the installation process or if your ceiling has complex designs, consider hiring a Professional Insulation Installer. They can ensure the insulation is installed correctly and meets building code requirements.
Step 8: Post-Installation Inspection
After the installation, inspect thoroughly to ensure all areas are adequately insulated. Address any discrepancies promptly to maintain the effectiveness of your insulation system.
Wrap Up
Installing Ceiling insulation batts before plastering your new house can significantly enhance its energy efficiency, comfort, and overall value. Following the steps outlined in this guide and taking necessary safety precautions, you can effectively insulate your ceilings and enjoy the benefits for years.
Whether you choose to DIY or seek professional assistance, investing in quality insulation is a decision that pays off in the long run, both environmentally and economically.If you are looking for Ceiling Insulation Installers in Melbourne, contact AA Insulation for quality batts and expert installation in new houses.