Ceiling insulation is an important part of home improvement. It makes your home more comfortable and helps you save money on energy bills.
With good Ceiling Insulation, your home stays warm in the winter and cool in the summer, keeping the temperature just right all year round.
This guide will walk you through installing ceiling insulation, ensuring you get the best results.
Why Insulate Your Ceiling?
Before you start installing ceiling insulation, it’s important to know why it’s beneficial. Insulating your ceiling helps with:
- Energy Efficiency: A well-insulated ceiling means you won’t need as much heating in the winter or cooling in the summer. This helps you save on energy bills.
- Comfort: Good insulation keeps your home at a steady, comfortable temperature all year round.
- Environmental Impact: Using less energy is good for the planet because it means a smaller carbon footprint.
- Noise Reduction: Insulation can also help block outside noise, making your home quieter and more peaceful.
Types of Ceiling Insulation
There are a few different types of insulation materials, each with its perks:
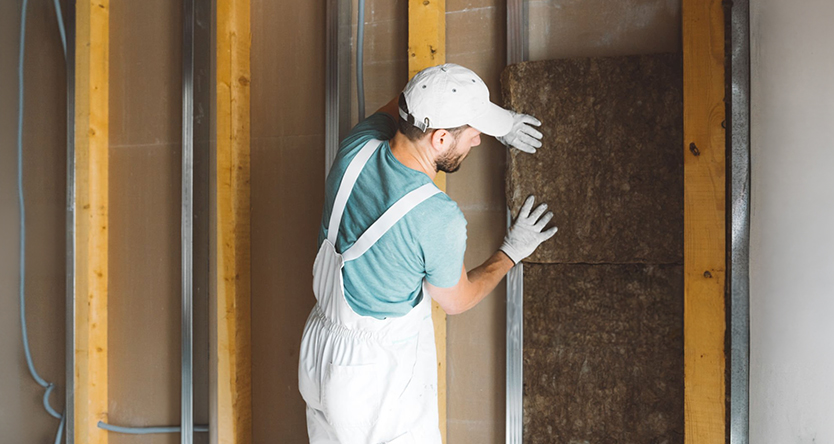
- Batt Insulation: Made from fiberglass or mineral wool, the batt is easy to install and works well.
- Blown-In Insulation: This method involves blowing loose insulation into the ceiling cavity, making it perfect for irregular or hard-to-reach spaces.
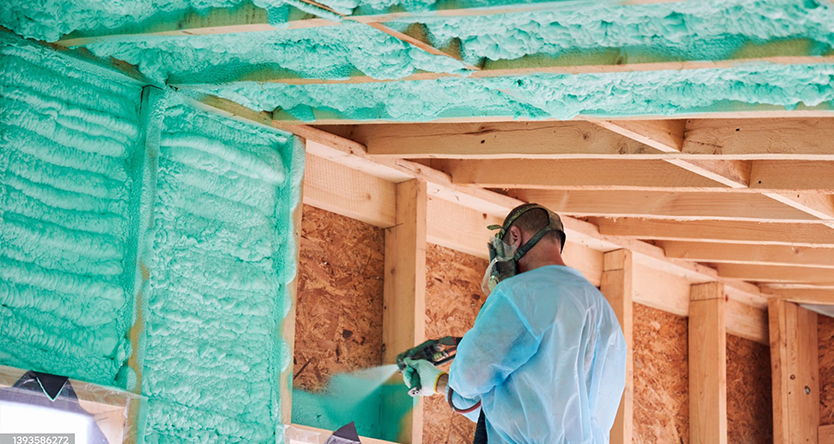
- Spray Foam Insulation: Though it’s a bit pricier, spray foam offers great coverage and sealing properties.
Tips For Effective Insulation
- Seal Gaps and Cracks: Before you add insulation, make sure to seal any gaps or cracks in the ceiling. This will help prevent air from leaking out.
- Avoid Compressing Insulation: Be careful not to compress the insulation. When it’s squished, it doesn’t work as well.
- Ventilation: Make sure your attic or ceiling space is well-ventilated. This helps to avoid moisture buildup and mold growth.
- Regular Maintenance: Check your insulation from time to time to ensure it’s still in good shape.
Common Mistakes To Avoid
- Measure Carefully: Make sure to measure the area correctly so you don’t end up buying too much or too little insulation.
- Install Properly: Follow the instructions to ensure the insulation works as it should.
- Stay Safe: Always wear protective gear to avoid getting hurt or irritated.
Signs You Need To Replace Insulation
Even the best insulation doesn’t last forever. If you notice any of these signs, it might be time to replace your insulation:
- Higher Energy Bills: If your energy bills are going up, your insulation might not be working well anymore.
- Temperature Changes: If some rooms in your home are warmer or cooler than others, it could mean there’s a problem with your insulation.
- Physical Damage: Water damage, mold, or pests can ruin your insulation.
For more information on how long insulation lasts and when to replace it, check out How Long Does Insulation Last? Signs to Replace
Installing Insulation In A New House
Suppose you’re building a new house; Installing Ceiling Insulation Batts Before Plastering is crucial. This ensures the insulation is correctly placed and secured.
Wrap Up
Insulating your ceiling is a rewarding DIY project that can significantly enhance your home’s comfort and energy efficiency. By following this guide, you can confidently install ceiling insulation and enjoy its long-term benefits.
For those in Melbourne, professional help is available to ensure the job is done right. Consider reaching out to AA Insulation for expert assistance in Melbourne.